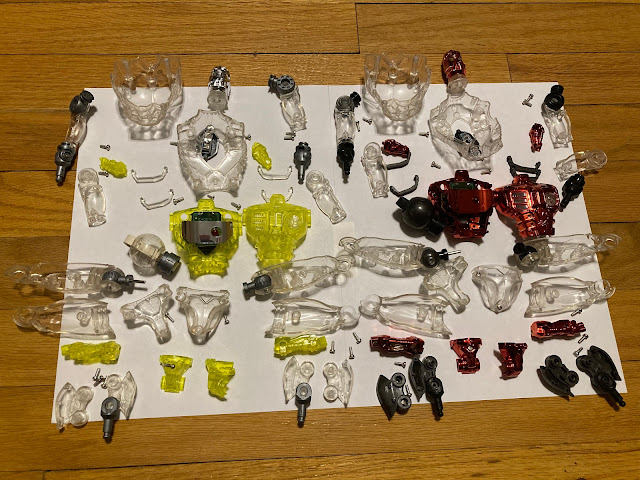
Happy Memorial Day!
Here is a small tutorial on how to swap around the parts of a 1/6 Neo Henshin Cyborg for a completely 100% playable custom action figure!
Neo Henshin Cyborgs Bio: Neo Henshin Cyborgs were a Takara 1/6 action figure line that came out in the late 90's and early 2000's in Japan. They were a reproduction of the G.I. Joe derived Henshin Cyborg line that came out in Japan in the 70's. Both Henshin Cyborg lines were known for their sleek futuristic look, posability, and high modularity.
1.) Supplies
- Two Neo Henshin Cyborgs (Non-Magnet Versions)
- #0 Phillips Screwdriver
 |
| There are other screwdrivers you can use, but I found that #0 Phillips was the best for all of the screws within a Neo Henshin Cyborg figure. |
2.) Start off with 2 Henshin Cyborgs you would like to swap pieces of. Make sure to perform this operation in an area where small parts cannot easily get lost!
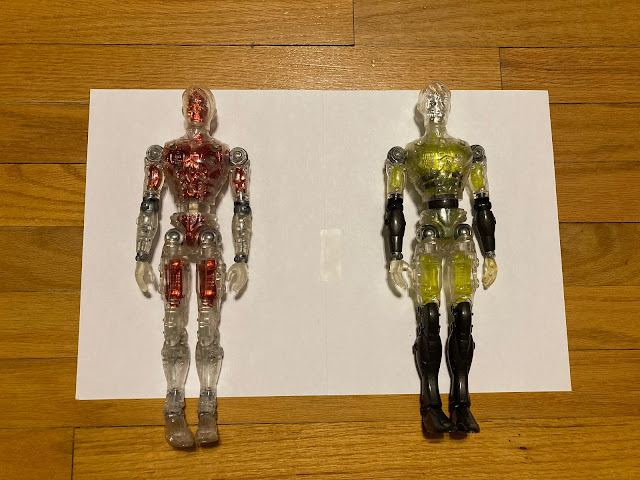 |
| These are two Cyborgs I had duplicates of, so I decided to swap their internals to have new Cyborgs that were not originally available from Takara. |
3.) Remove the "easy" exterior limbs and store them somewhere convenient.
 |
The exterior limbs and outer head are meant to be taken off to play in the theme of the line. Additional heads and weapon arms were included with the figures and sold separately.
|
4.) Unscrew the 5 screws from behind the torso and remove the outer back torso.
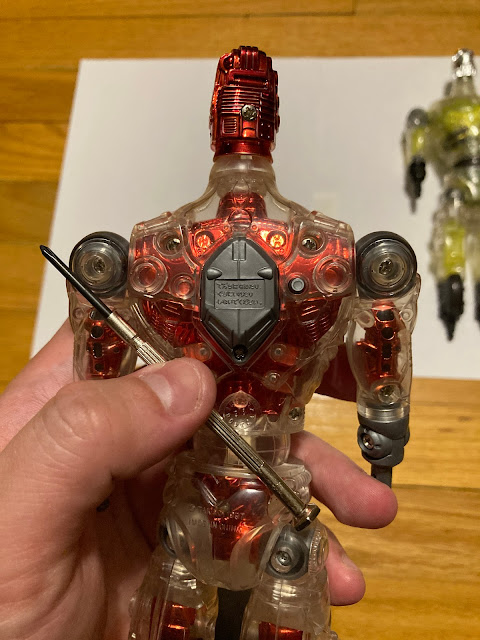 |
| You must unscrew the smaller screw on the battery case to remove the outer back torso. You won't see batteries in this tutorial; I previously removed them from all of my Cyborgs to prevent leakage. |
 |
| This is the outer back torso removed. The inner head is also removable at this point. I would carefully place the newly removed pieces and their corresponding screws in an organized layout to avoid confusion later. |
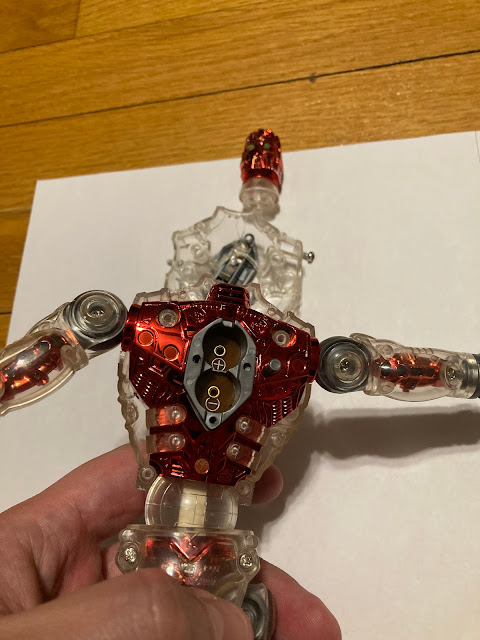
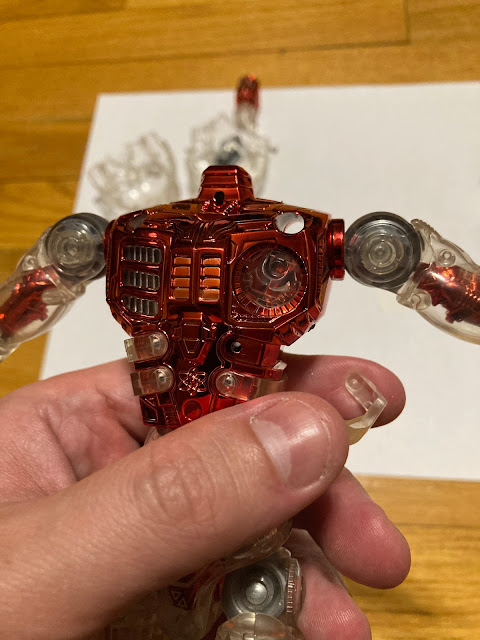
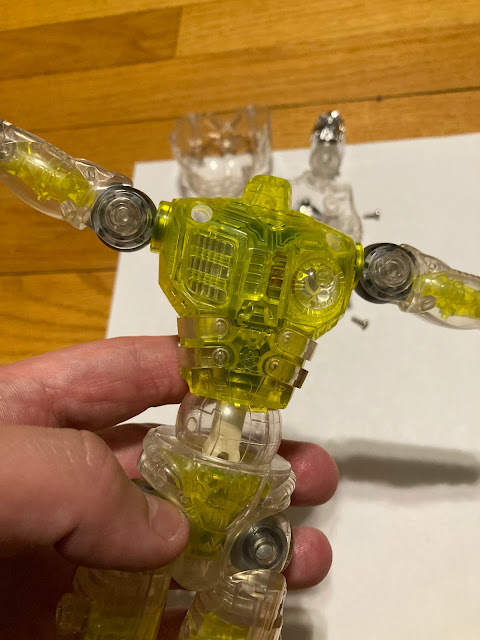
5.) Remove the outer front torso.
 |
| Do this carefully as with all of the pieces within the figure. Some of the pieces may have not been handled in over 20 years. |
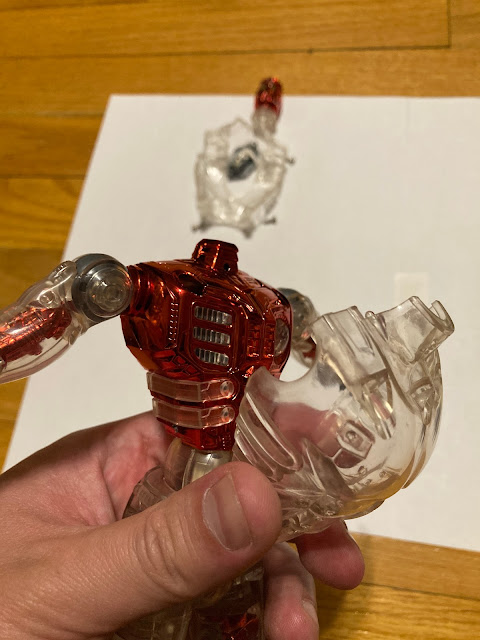
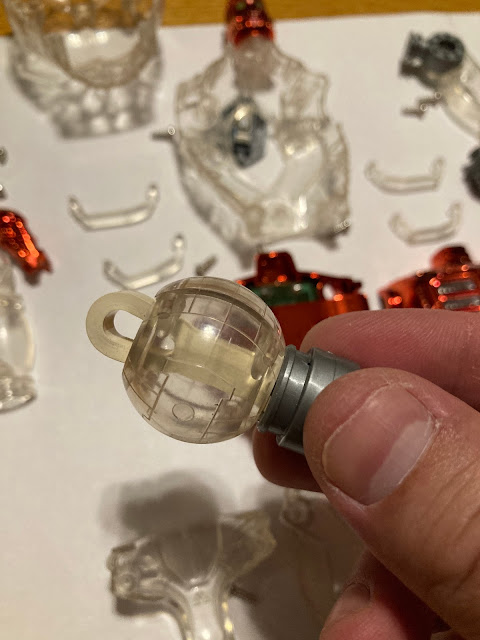
6.) Carefully remove the rib connectors.
 |
| The rib connectors are some of the most fragile pieces of the Cyborg. After removing, orient them down to where you can tell which one is upper and lower. There is a slight difference in their shapes and placing them back into the wrong slots can actually break them. |
7.) Take apart the inner torso.
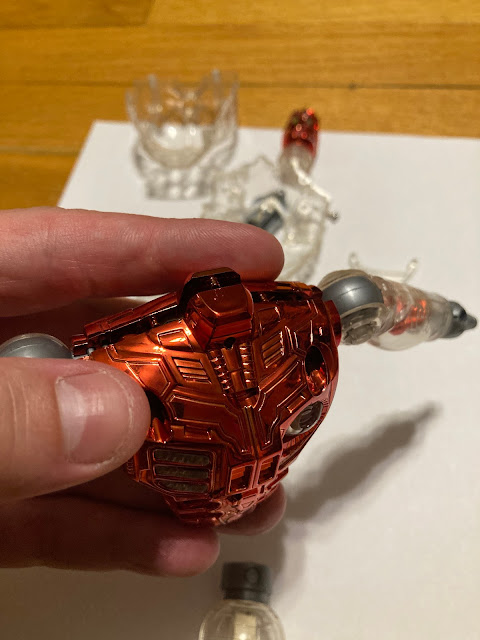 |
| As you carefully pry apart the inner torso, the arms and lower body should fall off. |
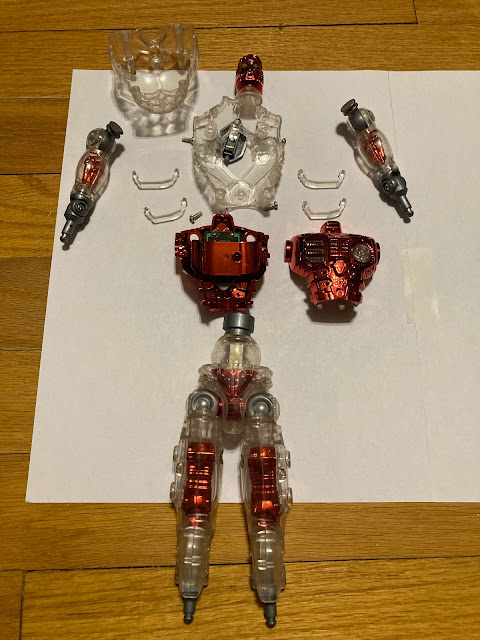 |
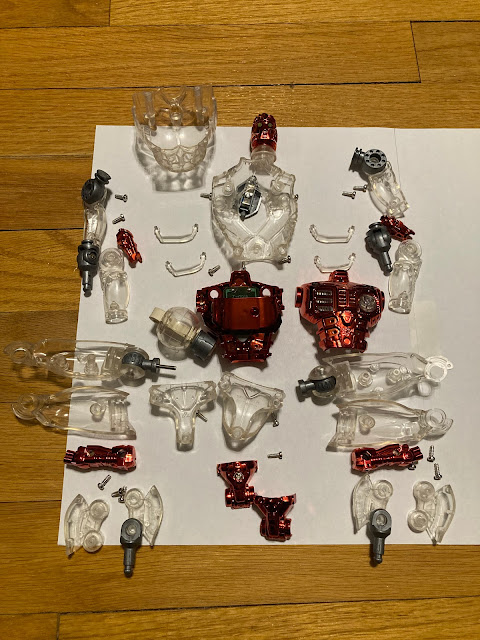
| Here is what you should have in pieces up to this point. |
8.) Unscrew the 2 screws of each arm and take them apart
 |
| These are the 2 screws behind the arm. Keep the inner bionics (the red piece) with each corresponding arm. They are different, but they can be hard to tell apart. |
 |
| After unscrewing, carefully pry apart. |
 |
| These are both arms disassembled. |
9.) Unscrew the 3 screws from behind the pelvis and take apart the outer back and front pelvises.
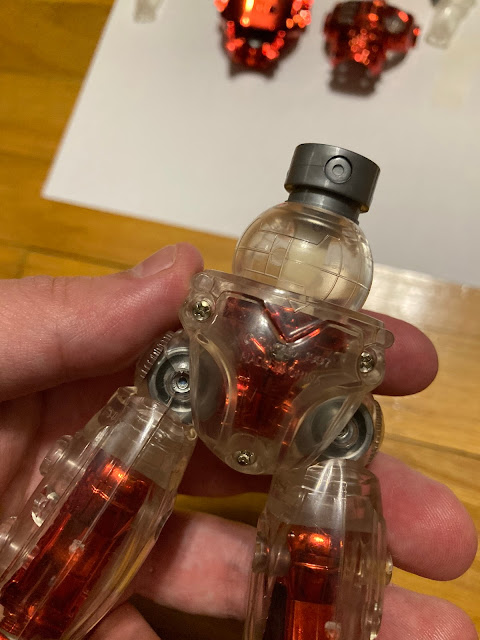 |
| Here are the 3 screws of the outer back pelvis. |
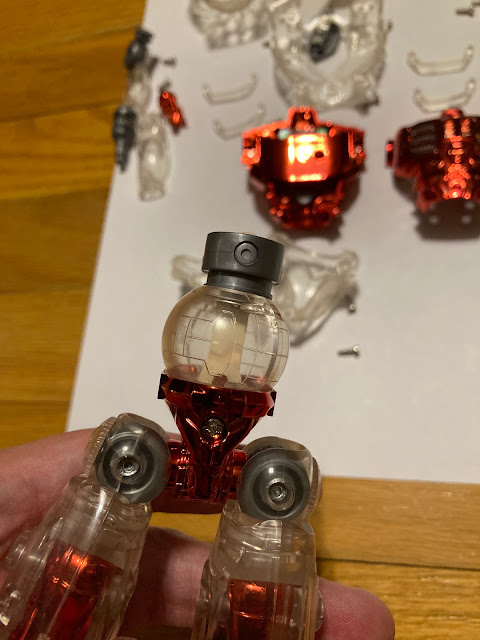 |
| After unscrewing, the outer back and front pelvises should be easily removable. |
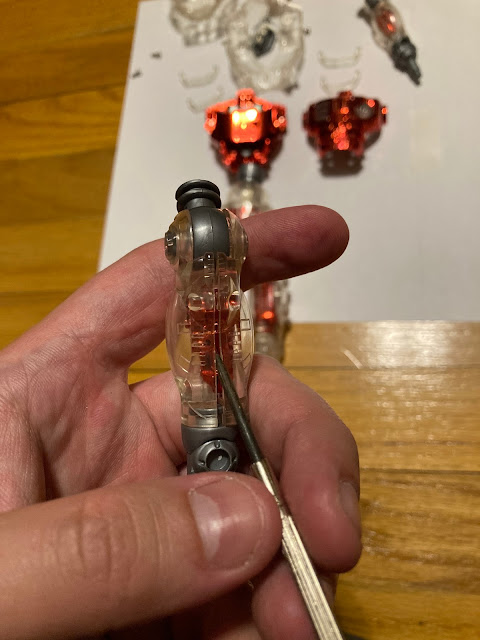
10.) Unscrew the screw from behind the inner back pelvis and move the Cyborg legs into a seated position
 |
| The legs have to be in the seated position so that the inner pelvis can be taken apart. Take note of this when you reassemble your Cyborg. |
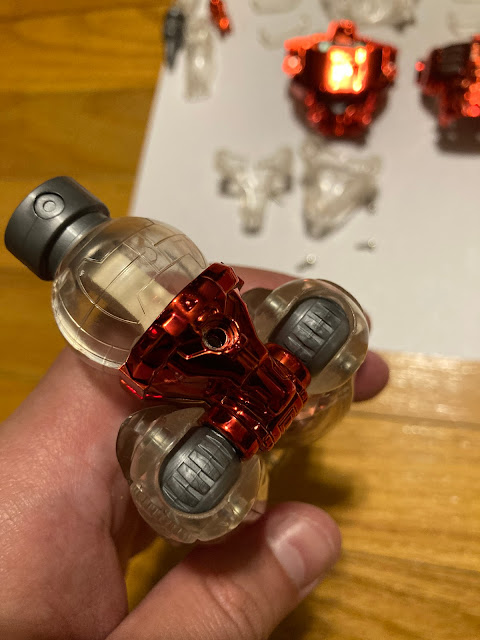
11.) Remove the inner back pelvis to remove the abdomen and legs
 |
| Here is the inner pelvic assembly. Unfortunately, the peg for the inner pelvic screw breaks sometimes when taking it apart. The figure is still fine, because of the outer pelvic screws, but the inner pelvic assembly is just not as strong. |
 |
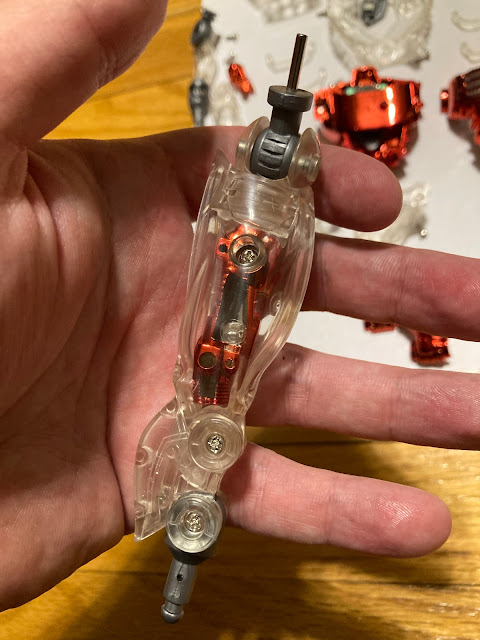
| This is the abdomen keeping the Cyborg together. Many of these white rubber bands are 20+ years old. Some are stretched out loose and others have rotted off. If you need replacing, a good substitute for this band are two #18 o-rings. |
 |
| Manipulate the legs in the opposite direction to detach the inner front pelvic piece from the legs. Do this carefully, and you should not have to force anything. |
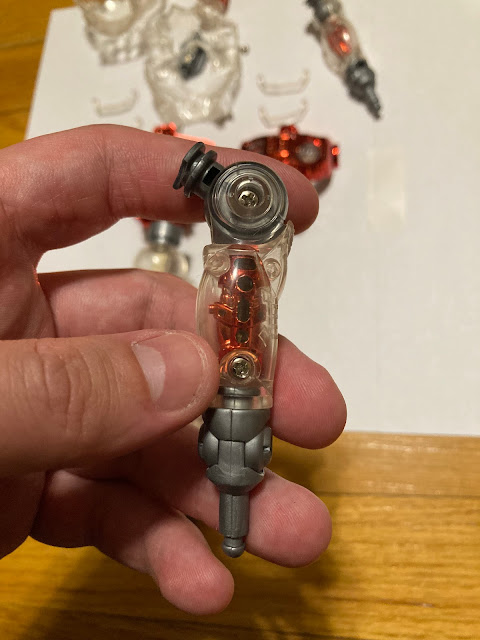
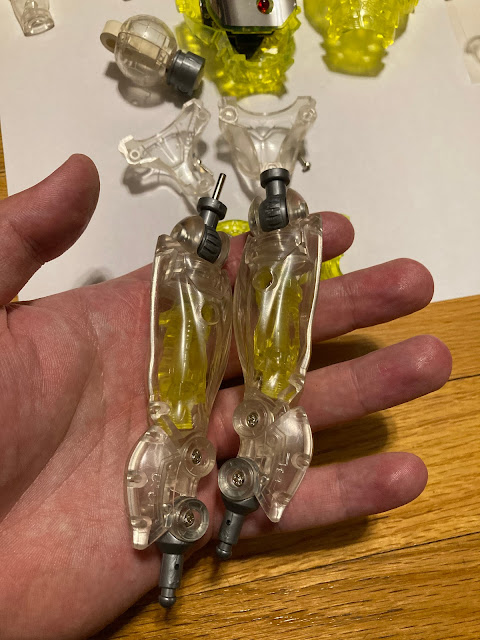
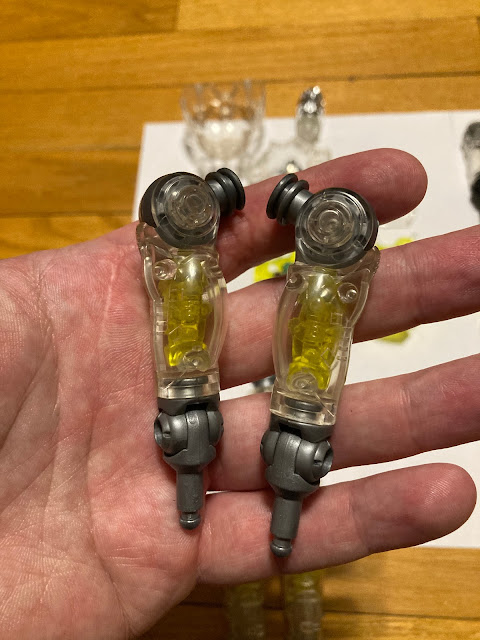
12.) Unscrew the 3 screws of each thigh and take them apart.
 |
| Just like the arms, keep the inner bionics (the red piece) with each corresponding thigh. |
 |
This should be the last step to completely disassembling a Neo-Henshin Cyborg. You have to wonder if Takara designed these figures for this very purpose, because not many other 1/6 figure bodies are this modular.
|
13.) Repeat steps 4-12 for the other Cyborg body.
 |
| Some folk may perform steps 4-12 on each body at the same time, but I prefer to do them separately to lessen the chance of confusion among the parts. |
14.) Swap the desired parts of the Cyborgs.
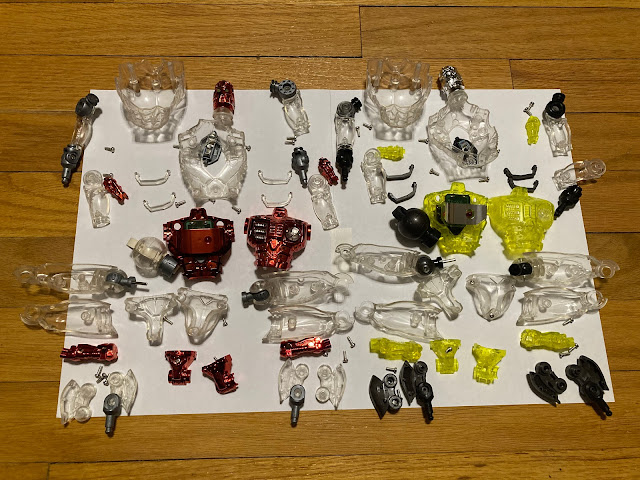 |
| Both Cyborgs disassembled with their original parts. |
 |
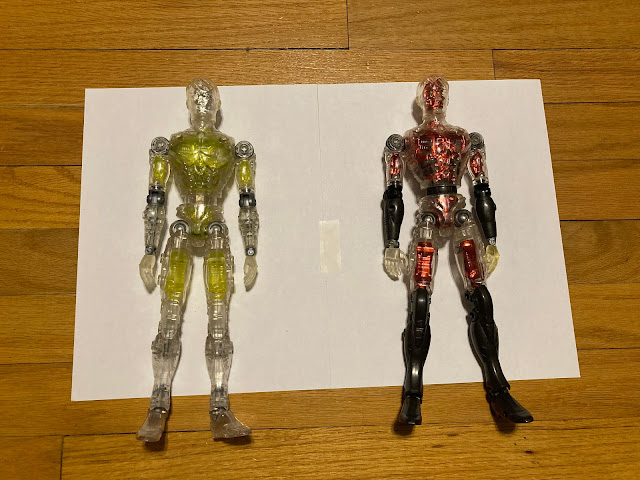
| Both Cyborgs with their colored bionics swapped. Takara never made an aqua clear Cyborg with yellow bionics or an aqua clear Cyborg with red bionics and black joints. |
15.) Reassemble your figure in the reverse order you disassembled your Cyborg in.
 |
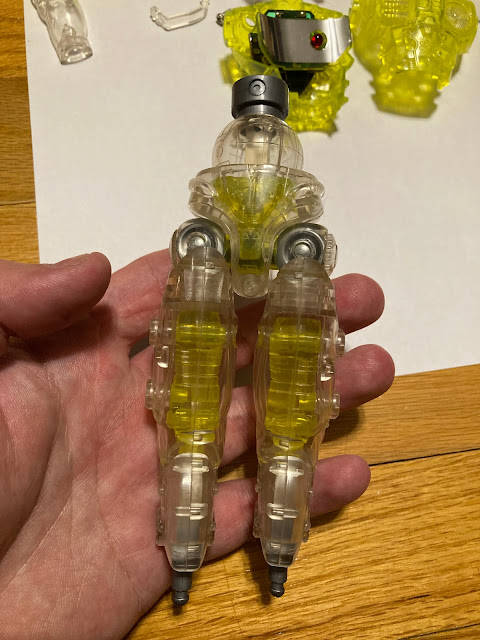
| First assemble the legs. |
 |
| Then the pelvis. Remember to manipulate the orientation of the legs to fit the inner pelvic pieces back on. You should not have to force anything. |
 |
| Then the arms. |
 |
| Then the torso. Remember to carefully place back the rib connectors in their proper slots, and do not forget the head! |
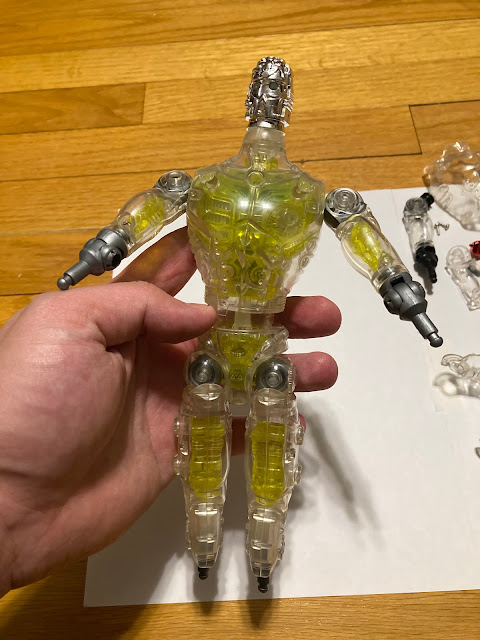 |
| This is what you should end up with. Do this for both figures at your own pace. |
16.) After reassembling both figures, reattach the "easy" limbs removed in Step 3.
 |
| Here are the 2 new figures assembled without the "easy" exterior limbs. |
 |
| Here are the 2 new custom Cyborgs that are 100% playable! |
Swapping pieces on Henshin Cyborgs is not difficult and makes great use of duplicate Cyborgs. Knowing how to swap pieces of a Cyborg can also aid in repair if you end up with a Cyborg with some faulty pieces. If you do choose to swap parts of a Neo Henshin Cyborg, I would not do so too many times on a particular figure, because the disassembling with the screws will eventually wear out the plastic. That being said, the custom possibilities are almost endless, so think twice about selling off any duplicate Cyborgs you may acquire!
 |
| Dr. Kenichi Katagai is ready to lead two new Neo Henshin Cyborgs! |
As always, questions/comments/concerns are welcomed!
-Chuck


Comments
Post a Comment