After viewing some of my Barbie reroots, a fellow collector reached out to me to reroot a rare 70's French G.I. Joe (Group Action Joe) exclusive Rahan figure! I was flattered and thus began my first commissioned rooting project!
 |
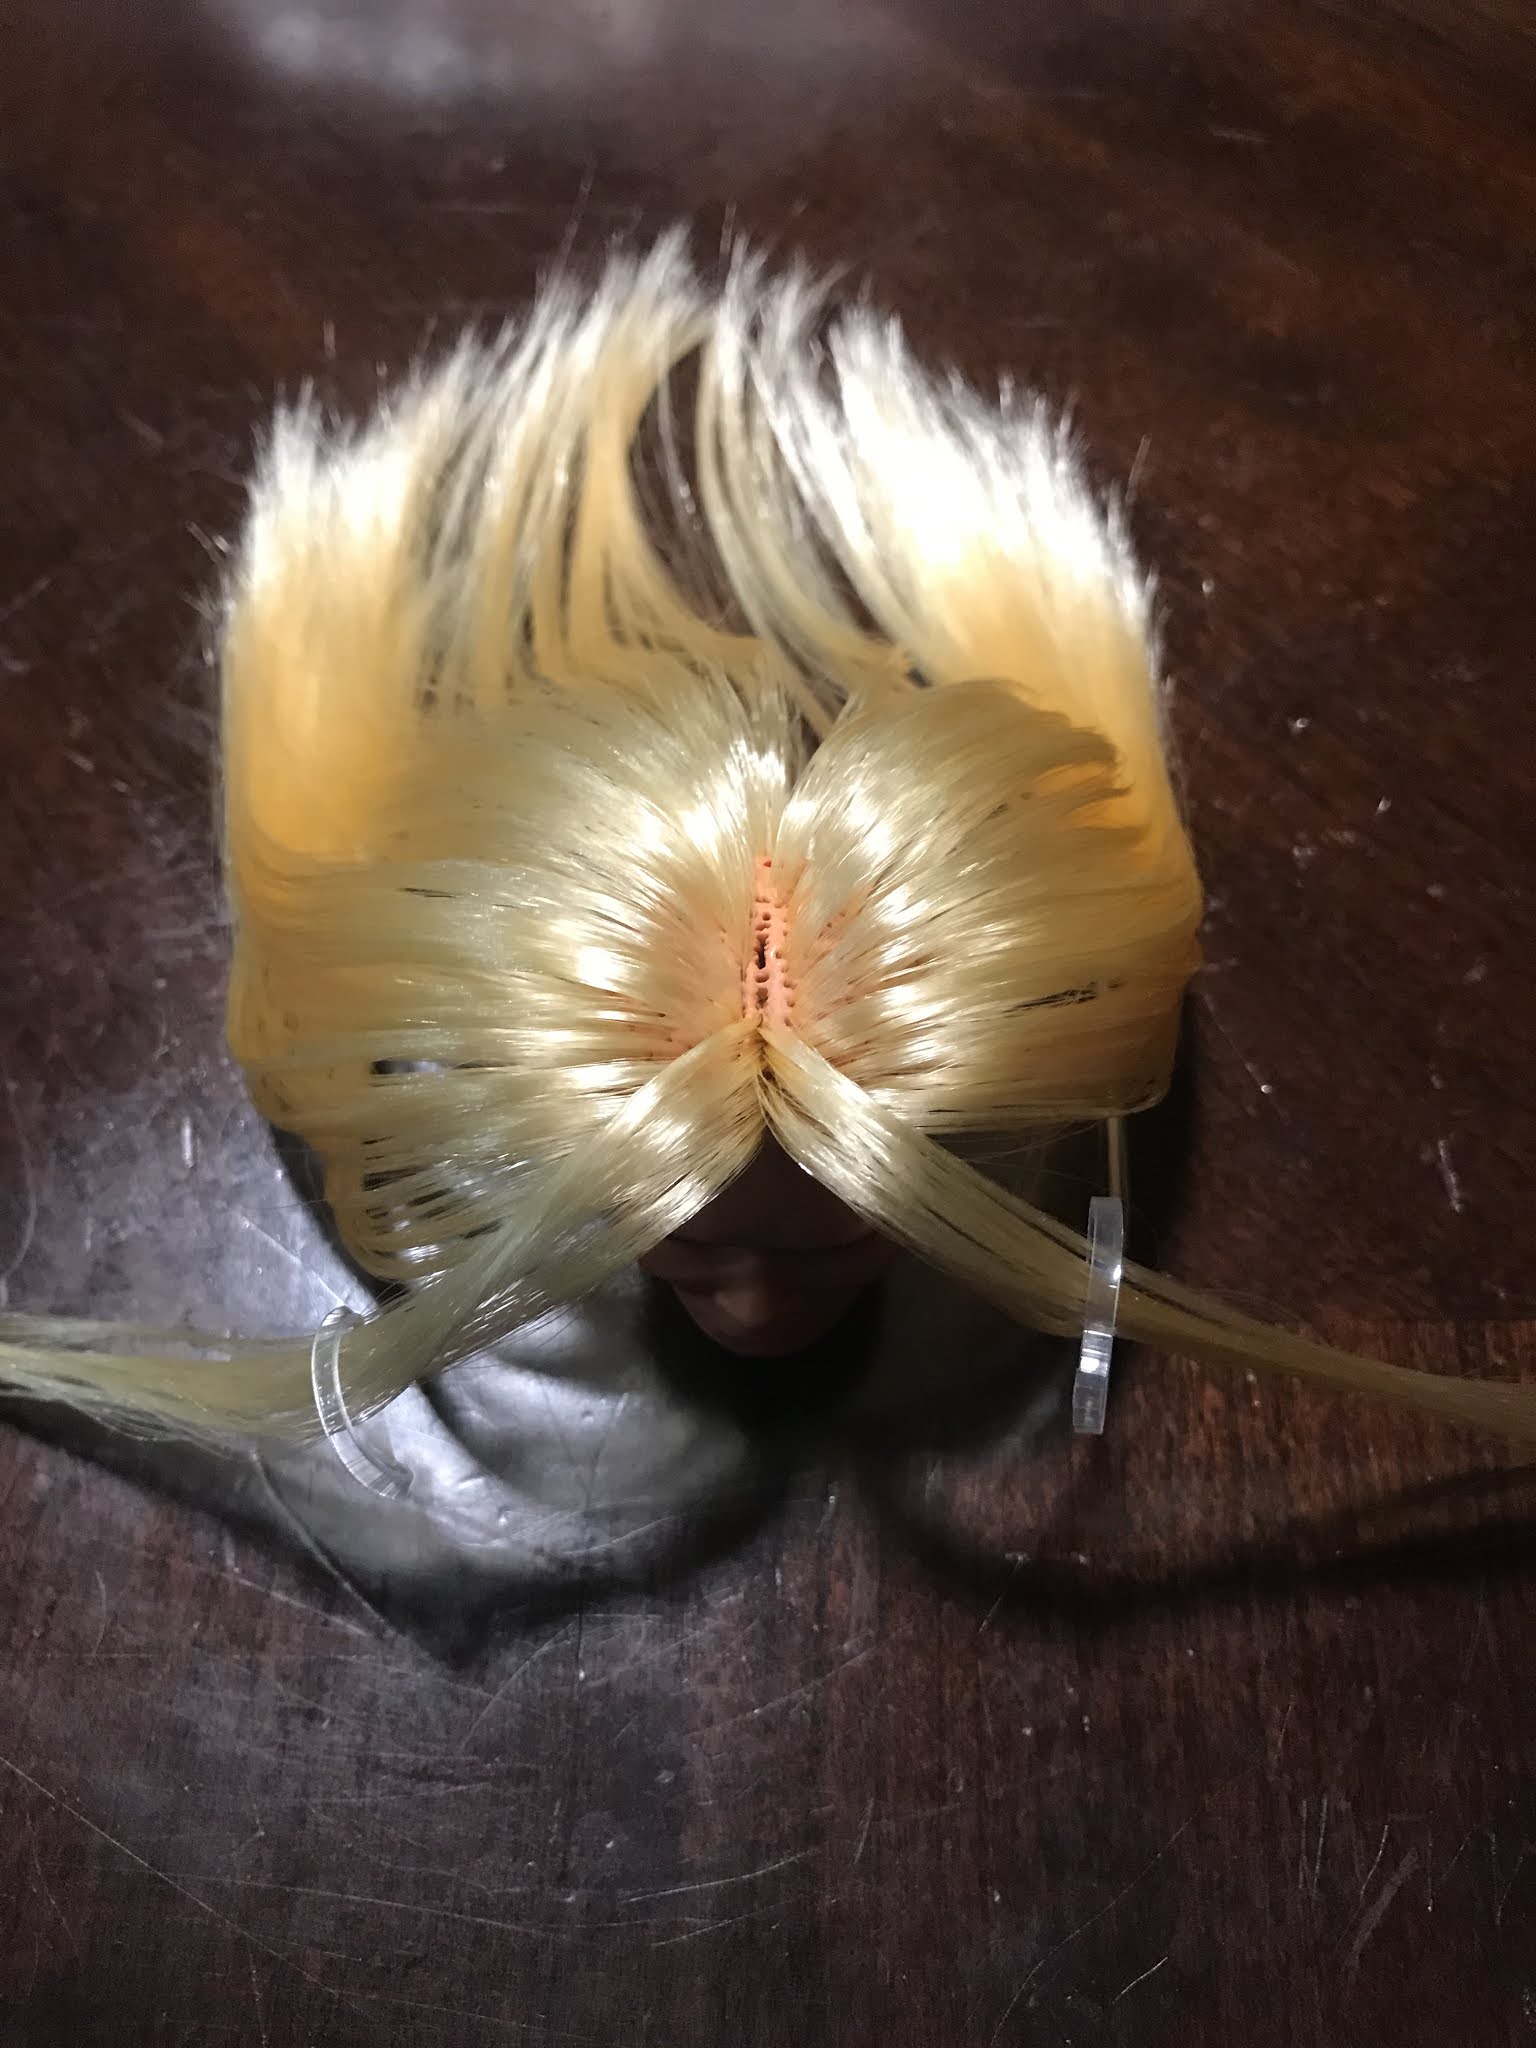
Rahan midway reroot!
|
1.) I first had to gather my supplies:
- Saran Rooting Hair
- Reroot Tool (I use needle size 6 for Barbies and Joes)
- Hair Cutting Scissors (A small pair can easily be bought at Wal-Mart)
- Steel tooth dog comb (Can be bought at dollar store)
- Fine tooth comb (Can be bought at dollar store)
- Fabri-Tac Glue (Can be bought at Wal-Mart)
- Thin Elastic
- Small rubber bands
- Perm Rods (Can be bought at dollar store)
- Hair pins (Can be bought at dollar store)
- Hair End Papers (Can be bought at hair store for cheap)
- Medium Hammerhead Screwdriver
- Stopwatch (I just use my cell phone)
- Stove, pot, and bowl for boiling water
- A mug and large bowl for ice water
- Paper towels and Q-tips for cleanup/ mess reduction
- Patience!
 |
Saran 'Goldilocks' hair - Saran hair is best for natural colors, Nylon hair is best for unnatural
|
 |
| Rerooting tool, much more efficient than the 'needle method' |
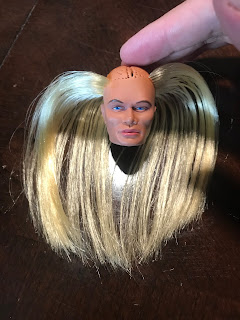
2.) My customer sent me the head, and I started off by studying the terrible reroot done by a previous so-called artist. My customer despised this hair, and so did I.
 |
Pitiful reroot and poor cut job. 100% unappealing work.
|
 |
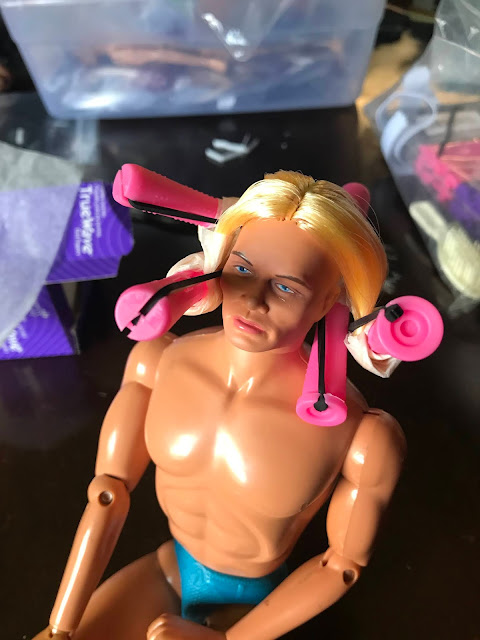
The original rooter used needle method. The thickness of the inner plugs did not allow for this head to be placed on the original body. Poor Planning.
|
 |
Unusually thick hair in the back, probably from sloppy rooting pattern.
|
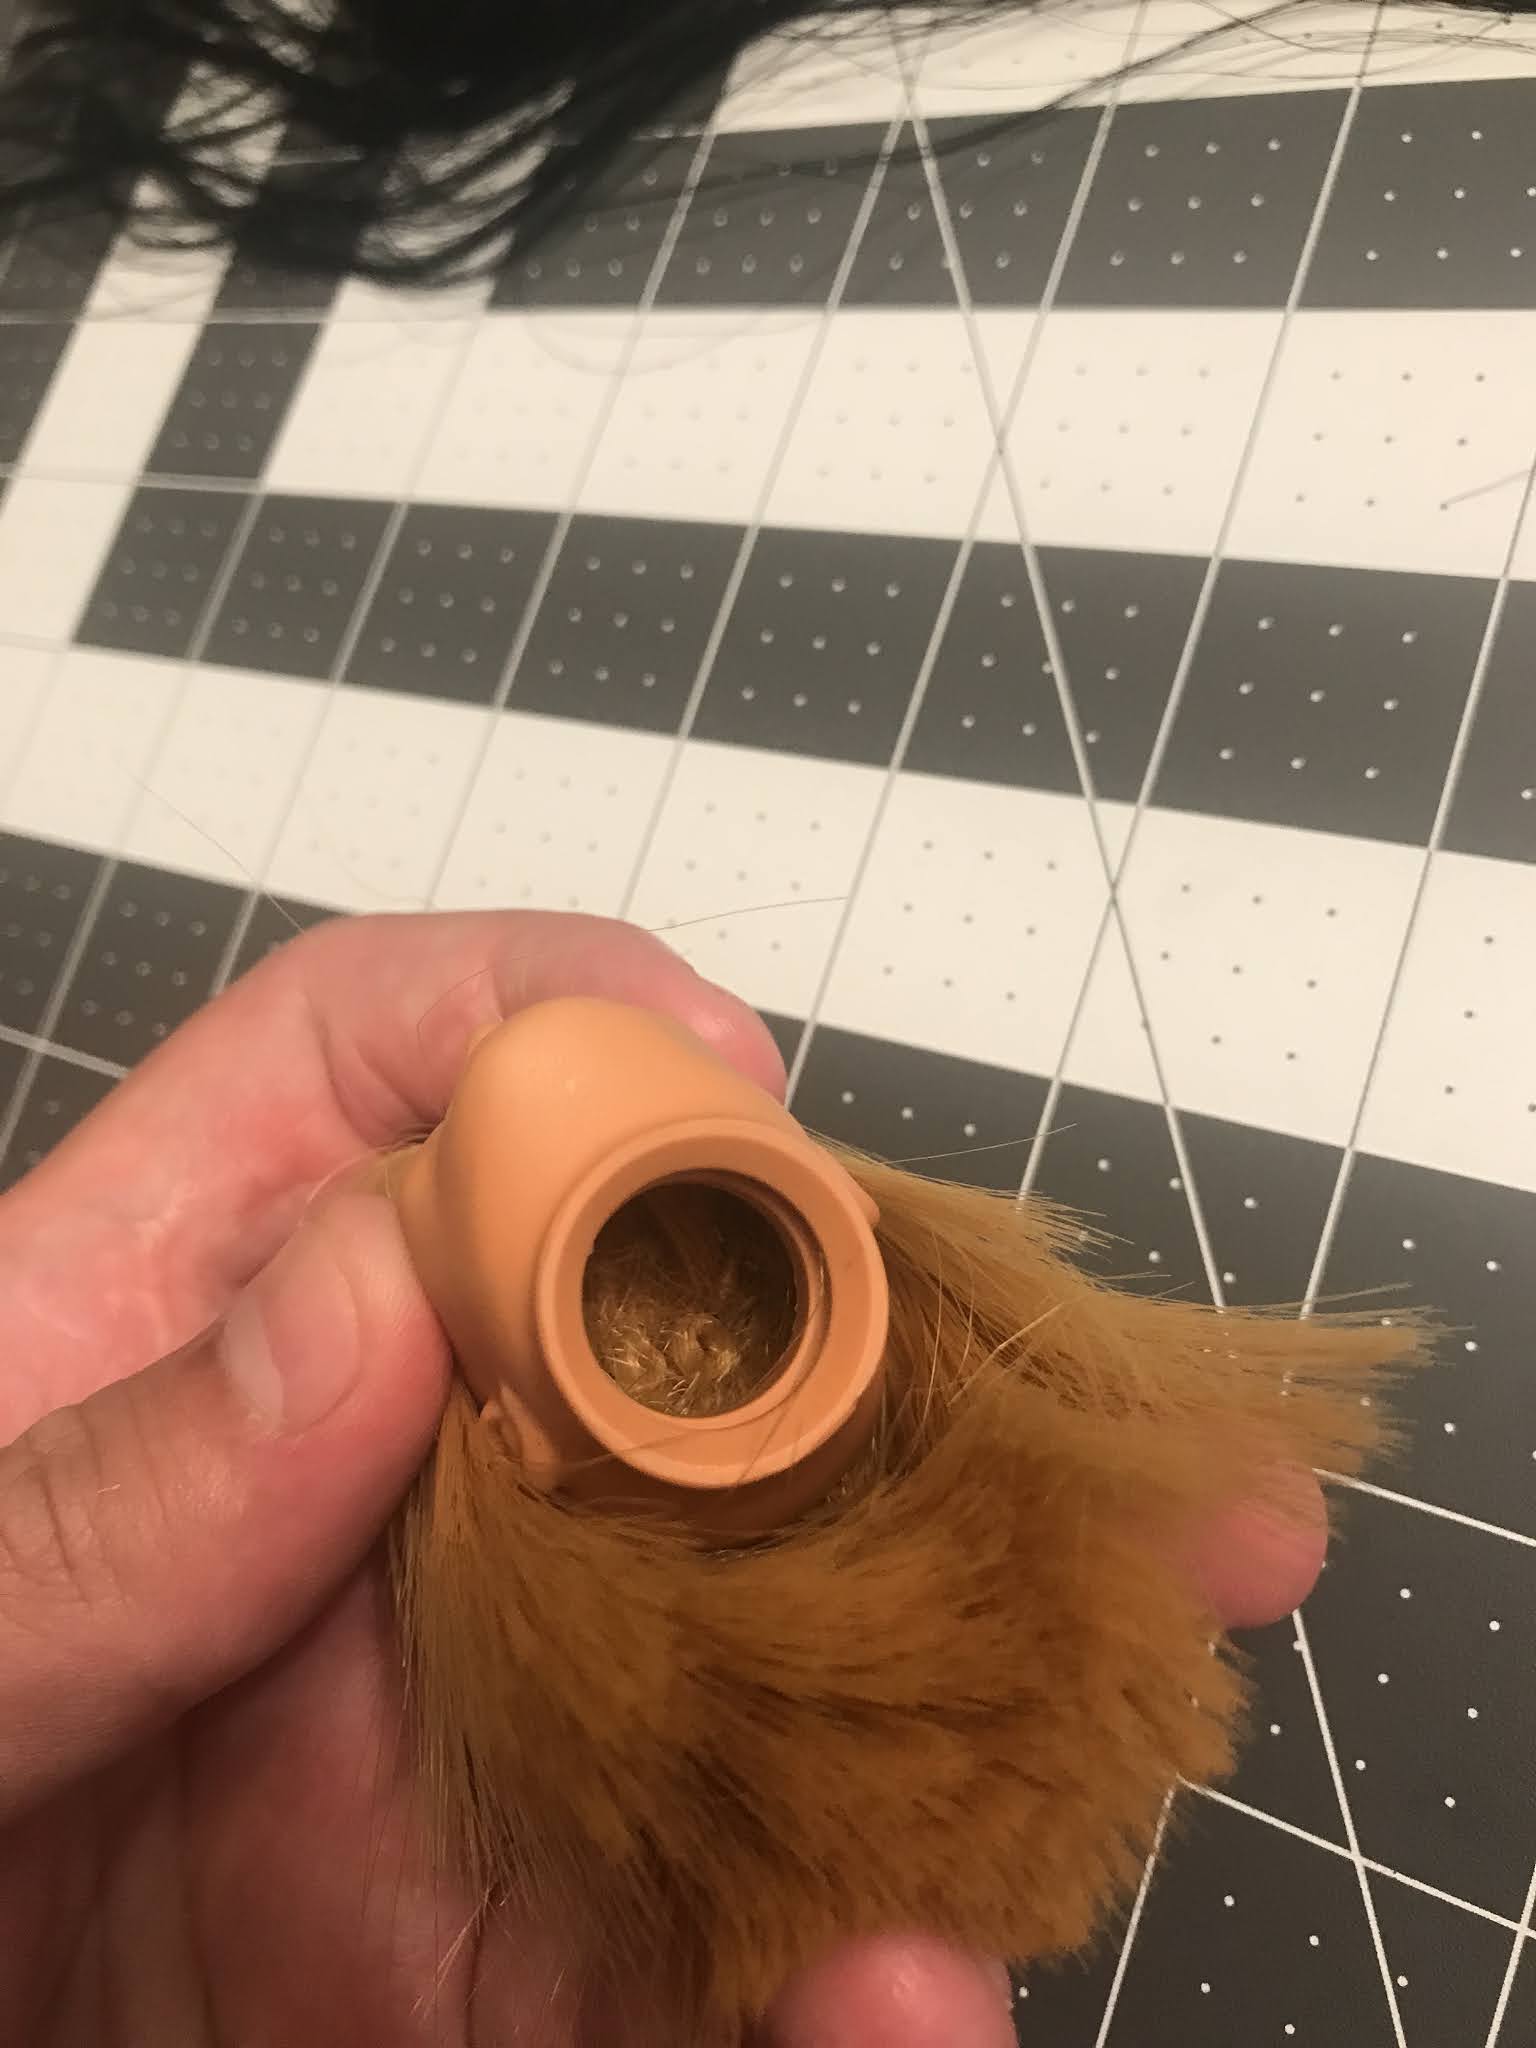
3.) After observing this catastrophe, it was time to remove the hair. The best way to do this is to cut the hair extremely short, and then CAREFULLY scrape the roots out from inside the head with a small hammerhead screwdriver. |
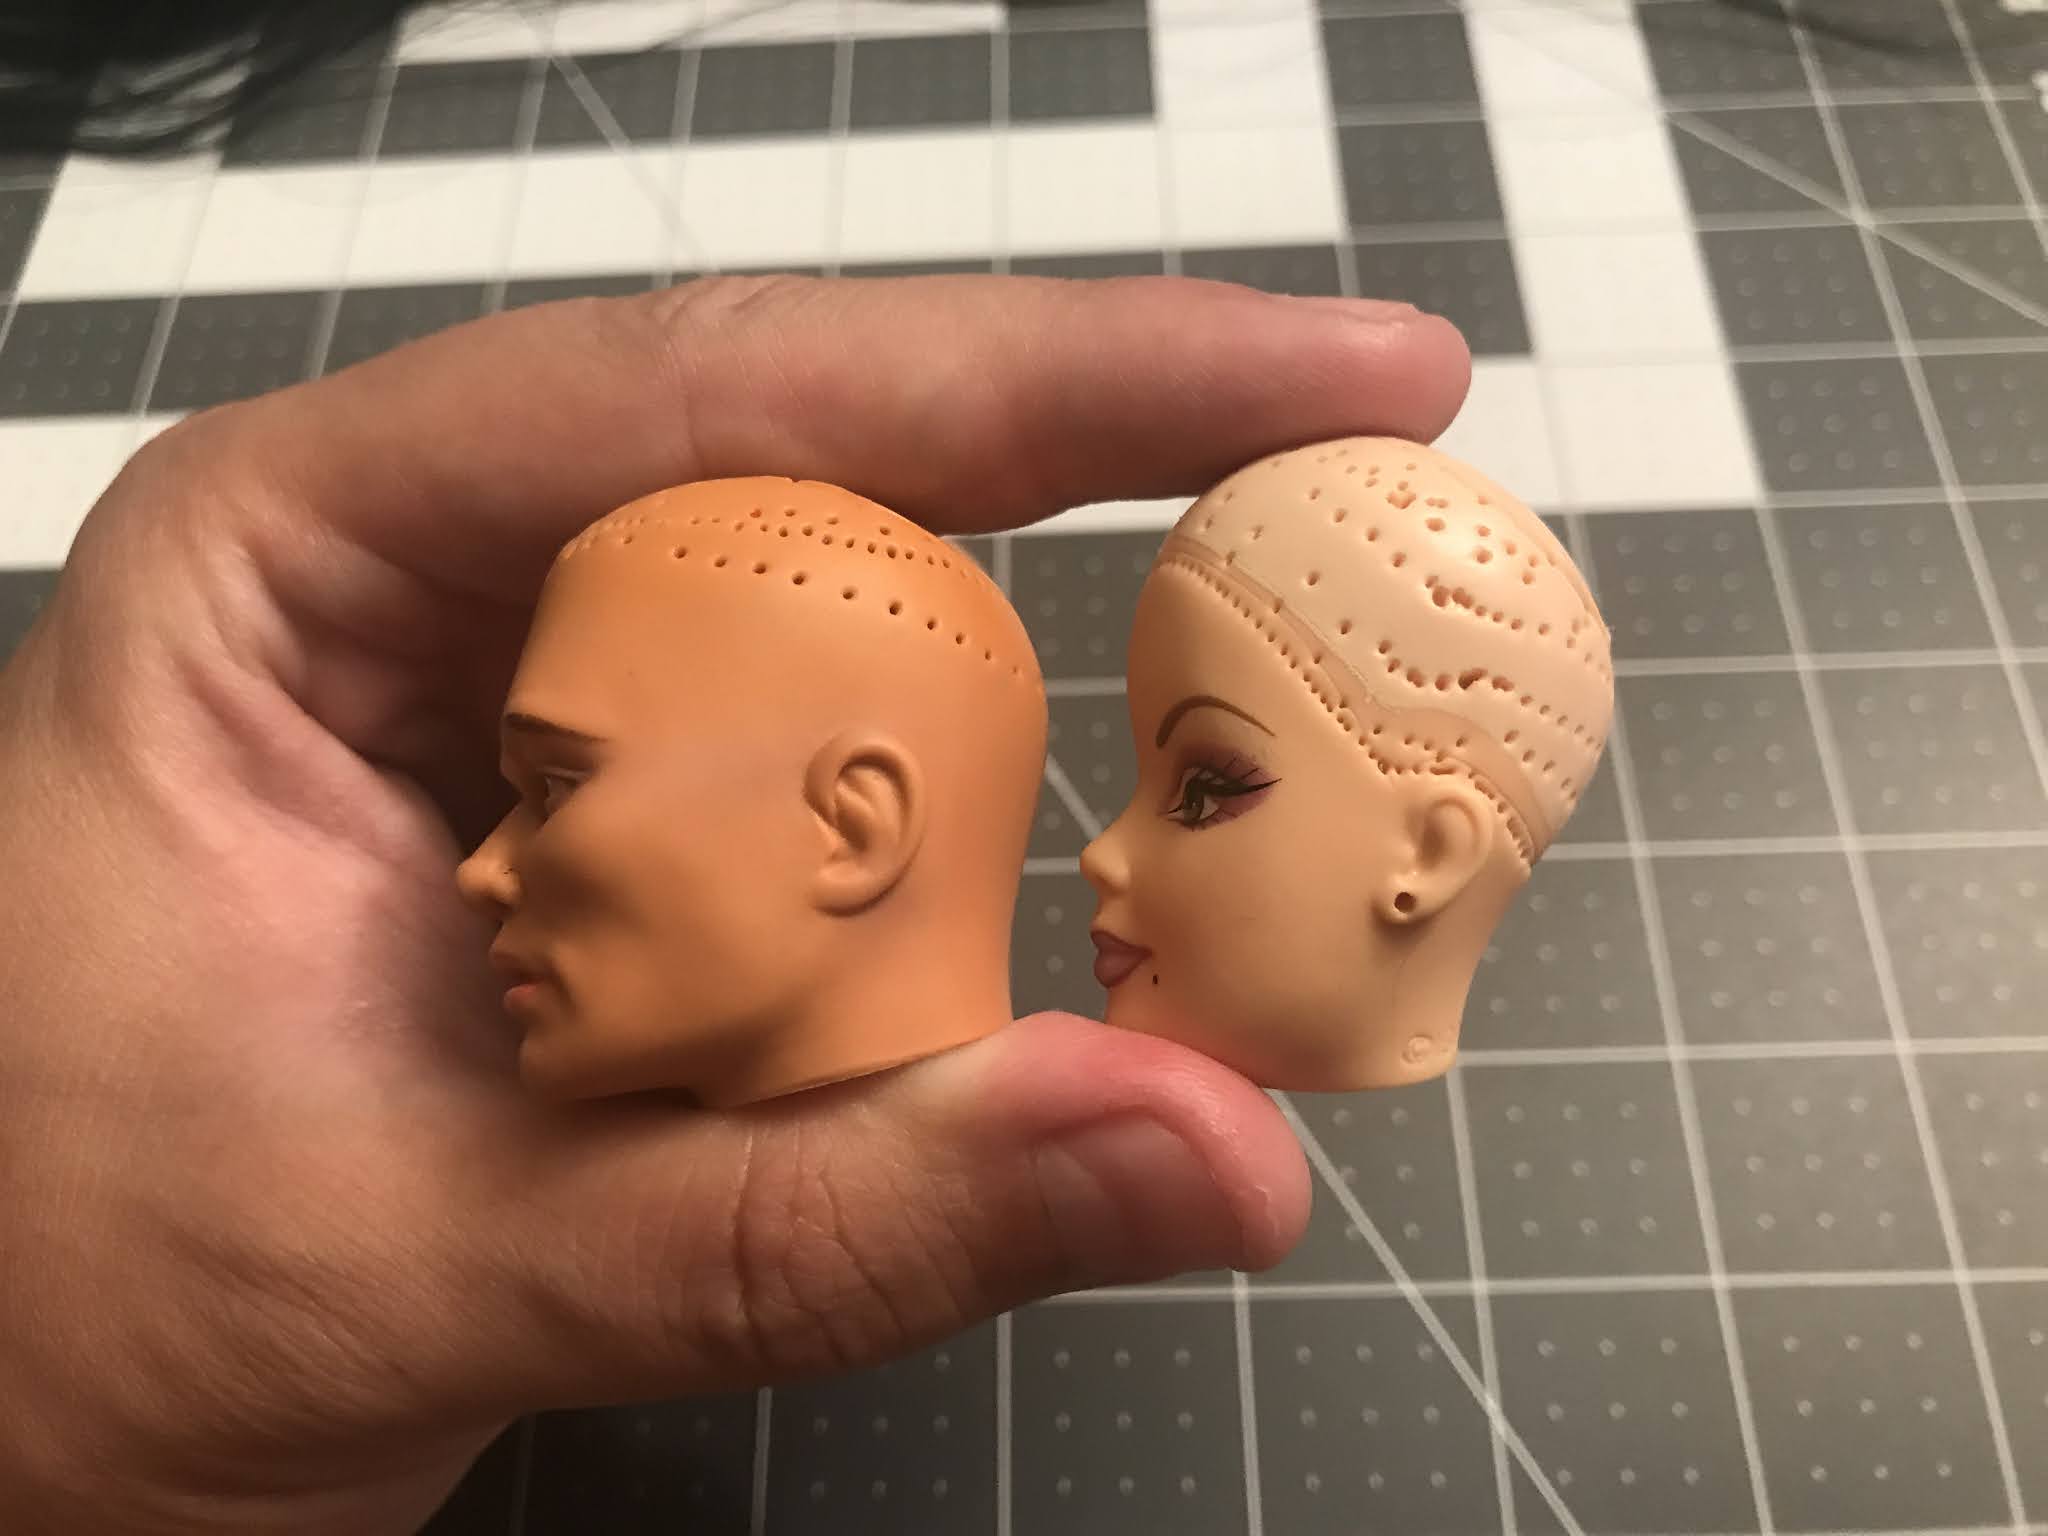
This is a comparison between Rahan's and Barbie's rooting pattern. Notice how Mattel roots more robustly with additional layers and a hairline tracing down to the sideburn and outlining the upper neck. This is why Barbie's hair is so much more glamorous than most rooted dolls. My customer wanted to retain the original hairline of Rahan though, so I stuck to that.
4.) Before starting to root hair plugs, I asked my customer exactly what he wanted. He responded with "somewhere between the comic and original figure hairstyle." So, I simply researched Rahan!
 | A Rahan cover in French!
|
 | Original Rahan in reproduction box, photo stolen from Internet
|
5.) Next, I began to root the plugs into the head. An exemplary video tutorial on how to do this can be found here.
 Rahan will not have hair below his navel, so I cut the hair plugs in half to conserve supply. I typically lay out several plugs (ideally 8-10 strands each) before picking back up the reroot tool. Always root in the lower back of the head first, because if these are novice plugs, they will not be as visible later in the project. Rahan will not have hair below his navel, so I cut the hair plugs in half to conserve supply. I typically lay out several plugs (ideally 8-10 strands each) before picking back up the reroot tool. Always root in the lower back of the head first, because if these are novice plugs, they will not be as visible later in the project.
 | Progression Shot Front Perspective. It is not visible, but I adjusted my needle so it would not root as deep into the head.

Be gentle with the head. The plugs will not fall out, but they are also not glued in yet. You can still straighten them with the dog comb, but do so GENTLY. Also, take time to just observe the head if there is a balance of hair throughout. If there is imbalance, poke some extra plugs in places where needed.
|
 | Progression Shot Top Perspective. When proceeding up a head, it is ideal to root in layers. Each layer should generally be a line that circles the scalp. Most prerooted heads already have a layered rooting pattern set. This head's rooting pattern had been slightly tampered with though, so I had to adjust my plugs accordingly.
|
 | Notice how long this neck post is. When I do glue the hair inside, there cannot be a thick cluster, or the head will not fit onto the post. This is why his plugs are not as deep as I typically root.
|
 | Progression Shot. As I work up the head, I will NOT root the part line until the end.
|
|
7.) After final inspection (no bald spots, even distribution, etc.), it was time to glue the plugs within the head. Take the Fabri-Tac and squeeze a decent amount inside the head through the neck hole. Take the hammerhead screwdriver and gently distribute the glue to all sides within the head containing roots. If you feel there is insufficient glue, squeeze more in. You can also gently squeeze the head for better glue distribution, but try not to squeeze the head too hard or some of the excess glue may come out of the rooting holes. Lay the head with the neck hole up, and let the glue cure for 24 hours. Fabri-Tac is strong and very flexible. This allows for my most treasured quality in my reroots which is playability!
 |
Distribution of the glue was particularly more critical for this head, because the roots were not as deep. This head required a thinner, but evenly distributed sheet of glue throughout the inner head.
|
8.) After waiting 24 hours, I tugged a small plug of less visible hair throughout the head to ensure the glue was distributed correctly. If hair came out, then I would have added more glue inside the head and waited an additional 24 hours. Fortunately, the glue was a success, so it was time to prep Rahan for boil perming! Boil perming will keep the part line permanent and relax the hair so it appears more natural. Boil perming is also ideal for setting curls/styles, which we will do later. I took my elastic and secured it around the head and hair. You can do this before or after placing the head back on the body.
 |
| Ensure that each part of the hair underneath the elastic is generally where you want it to lay in the finished hairstyle. |
 |
| The part line, hairline, and the other plugs will be relaxed and generally laid down in the fashion you set under the elastic once the boil perm is complete. |
 |
| Top Perspective. Notice how the part line toward the crown of the head is gradually laying toward the back to cover the flesh showing there. Try your best to cover all skin, but you will not get ideal coverage until combing after the boil perm. |
 |
| The head successfully fitted back onto the neck post! If you must use a hair blower to warm up the neck plastic for head insertion, cover and protect the hair by any means necessary! High hair blower heat can unfortunately oxidize and compromise the fibers of saran hair. |
 |
| Right Perspective. Feel free to comb below the elastic to even out the hair. The glue is set now, so you should not worry about hair falling out. |
 |
| Left Perspective. Make sure the elastic is low enough on the head to where it will not pop off when submerged in hot water. |
9.) After I set the hair under the elastic to my liking, I then moved into the kitchen for the boil perm. Begin to boil a pot of enough water to fill a small bowl. While that is heating up, pour some ice water into a mug. When you begin to see some bubbles and hear the simmer of the boiling water, pour the boiling water into a small bowl. Carefully dip Rahan headfirst into the bowl, and keep his head submerged for no longer than 1 minute. When the minute passes, immediately place the figure headfirst into the mug of ice water for 10 minutes. When the 10 minutes have passed, sit the figure down in a dry place and let him dry with the elastic still on for 24 hours.
 |
| Ice water in mug large enough to submerge Rahan headfirst. |
 |
Never boil perm in the pot over the hot stove. You can ruin not only the figure but also endanger yourself and your kitchen!
|
 |
After observing bubbles and hearing the simmer, I poured the boiling water into a bowl in my sink. I submerged Rahan's head for exactly 1 minute trying my best to avoid the sides of the bowl with the figure. Submerging past a minute with Saran hair can result in damaged fibers.
|
 |
| After the 1 minute of hot water immersion, I immediately placed Rahan into the ice water for 10 minutes. The boiling water essentially loosens the hair, and then the instantaneous introduction of ice water will lock the hair in the manner it is positioned under the elastic. I have heard that if the heated hair is not actively cooled down, the retention of high heat in the hair can also damage its fibers. |
 |
| When the 10 minutes passed, I placed Rahan on a towel to dry WITH the elastic on for 24 hours. Do not endanger the style and fibers by hair blowing him dry. Patience! |
12.) I did not require Rahan's curls to be set the strongest, so I made the judgement call to unroll them after about 6 hours. Normally, to set the strongest curled hair, you must keep it rolled in the perms rods until completely dry which usually takes days.
 |
Curls are looking good so far
|
 |
| Curls look consistent in the back as well |
 |
| Hair combed out. The curls are exactly as I need them. |
 |
Back Perspective
|
13.) I showed my customer Rahan, and he was super impressed, but he wanted the hair to be shorter. I agreed that this would be more accurate as well. I cut Rahan's hair to a little below his shoulders. I did not photograph these steps, but I trimmed his hair in a similar manner as in this video. This is NOT the only way to cut doll hair, and for more precise hair styles, I would always suggest cutting in layers like in real life hair styling. In this additional step, I had to set Rahan's end curls again for his new shorter hair.
 |
| Hair rolled in perm rods again, this time, a little higher |
 |
| Boil perming again. Be wary of boil perming too many times though. Numerous extreme temperature fluctuations will eventually take a toll on the hair fibers. |
 |
10 minutes in the ice water
|
 |
Unrolled after 6 hours, looking consistent!
|
 |
Front Perspective
|
 |
Hair dried, combed, and completed! Hair length and end curls are clean!
|
 |
Back Perspective of completed hair!
|
My customer was very thrilled about this figure and was also very thankful! I delivered this figure to him at a Joe convention I will discuss in a later post!
Rahan took me about 6 hours of rooting and styling, but as with all reroots, he also took a few days for curing and setting purposes!
If you are interested in learning more about this method or have any questions about the world of rooting, feel free to contact me through this blog!
-Chuck


 Rahan will not have hair below his navel, so I cut the hair plugs in half to conserve supply. I typically lay out several plugs (ideally 8-10 strands each) before picking back up the reroot tool. Always root in the lower back of the head first, because if these are novice plugs, they will not be as visible later in the project.


Comments
Post a Comment